
white chocolate raspberry shortbread cookies
♥
what you need :
260 grams of all-purpose flour
226 grams of unsalted butter
1 teaspoon of vanilla essence
1/4 or 1/3 teaspoon of fine salt
60 grams of icing sugar
jar of raspberry preserve ( or you can choose homemade recipes )
a packet of grated white chocolate
♥
hand/ electric mixer
weighing scale
teaspoons
soup spoons (optional )
2 bowls
measuring cups
baking paper
plastic wrap/ cling wrap
grater ( optional )


step 1. take a bowl, fill it with 260 grams of all-purpose flour,
and add 1/4 teaspoon of fine salt ( at most 1/3 ) and mix .
the reason for this is to ensure that before mixing it with sticky mixture of butter, the salt would be evenly distributed with less effort, rather than trying to seperate large amounts of salt clumps from the butter. also, its best to use fine salt as salt only melts at high degrees, a temperature so high its not even on your ovens. different salts would affect the texture of the shortbreads, and most wouldn't like to have to big a piece of salt bits in your bickies, therefore its best for fine salt.

step 2. take a 2nd bowl, put in 226 grams of unsalted butter.
use a handmixer or electric mixer to beat it til it is smooth
and that means no blocks or random pieces of butter slices -
if there is specific indication of the weight of the butter block you bought,
use measuring scale.

step 3. measure 60 grams of icing sugar and put it into bowl 2 only.
for those who have difficulty measuring the sugar, do put it into measuring cups and add at small portions if the cups cannot hold too much at one time. another option is to lay kitchen paper on the measuring scale and pour the sugar on top of it. the downside of this is that there is a higher risk of spilling the sugar when transferring into bowl 2.

step 4. add the sugar into the already smooth butter.
beat using electric/ hand mixer til smooth again.
make sure no excess sugar is collected at the sides and bases. if in any case that the mixers are unable to reach the sides of the mixing bowl to collect the excess sugar, stop the mixer( switch off / standby mode ) and use a spoon to scrape it and transfer it back to the middle of the mixture. DO NOT attempt to transfer by hand or spoon when mixer is still spinning, it is highly dangerous.
mix for about 2 minutes.

step 5. add a teaspoon of vanilla essence, also known as vanilla extract.
add to mixture in bowl 2, and continue beating til it is evenly mixed

it should look like this once all three items, butter, sugar and vanilla essence has been added.

step 6. pour the flour from bowl 1 into bowl 2, and mix as evenly as possible.
try not to add bowl 2 to bowl one as the butter mixture is hard to transfer and less would be wasted if the flour was transferred over instead

it should look like this after mixing.

step 7. take out plastic wrap and spread it across a table mat or baking tray.
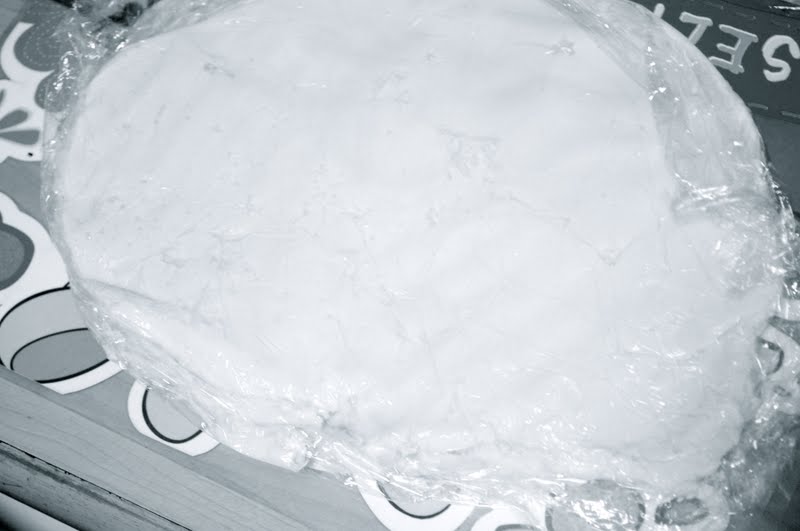
step 8. pour the mixture onto the plastic wrap, flatten it to about 1 cm thick.
put the tray/ mat into the refrigerator and chill for an hour
try to make sure the cling wrap covers most of the surface area!
and DO NOT FREEZE
congratulations! you are halfway there.

step 9. once the 1 hour is over, preheat the oven to 150 degrees.
please DO NOT FOLLOW image above and set to 150 degrees.

step 10. remove the mat / tray from the refrigerator,
transfer the dough into another mat.
step 11. remove plastic wrap and leave the tray / mat
used to chill dough to dry.
step 12. use cookie cutters or a knife to carve out desired shape.
ensure and check that it still remains as 1 cm thick.
step 13. take out baking paper and lightly flour one side.
step 14. put dough cut-outs 1 inch apart from each other
onto the floured side of the paper.
step 15. put baking paper with dough cut-outs on top
onto the dry baking tray.
step 16. put into oven's middle rack, and set it to 10 mins.
step 17. when it has turned slightly brown after 10 mins,
remove and place onto a cooling rack
step 18. leave for at least 20 mins on the cooling rack.

step 19. contain them in an air-tight container. if it
condenses, do place it back onto the cooling rack.

step 20. ( before eating ) spread a layer of raspberry
preserve onto your shortbread cookie
do spread your desired amount!

step 21. take the granulated chocolate chips out of the refrigerator
and sprinkle them on the raspberry jam. if you want it to
be in smaller pieces, use a grater.
do be careful not to cut yourself

bon appetit !